The 5-Step Appliance Maintenance Checklist Every Office Manager Needs
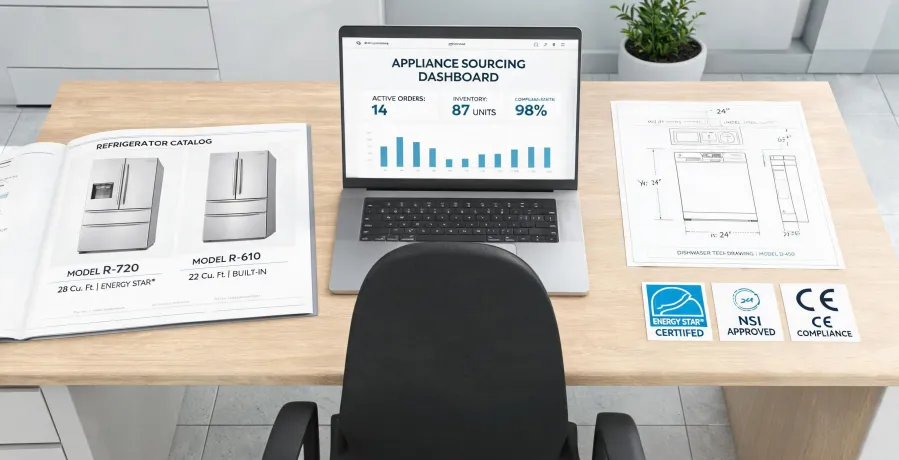
I've managed purchasing and facilities for a mid-sized logistics company for about six years now. One thing I didn't expect when I took the job: how much of my time would go into appliance upkeep. Our headquarters has a break room kitchen, two satellite offices have their own kitchens, and we operate a small corporate housing unit with laundry. That's a lot of refrigerators, ovens, washers, coffee makers, and small appliances that all need care.
This checklist is what I've landed on after a ton of trial and error. It's not written for appliance repair techs—it's for the rest of us who manage buildings and don't have a repair background. If you're an office manager, facilities coordinator, or property manager, these are the five maintenance routines worth putting on your calendar.
Before the Checklist: Know Your Boundary
Here's the honest part: I'm not an appliance tech. I can schedule maintenance, order parts, read manuals, and keep documentation organized. But I don't touch gas lines, refrigerant, or high-voltage components. That boundary has saved me from making things worse more times than I can count.
The same logic applies to the vendors I work with. After a few years of managing these relationships, I've come to believe that the best supplier is the one who tells you when something isn't their strength. I had a vendor tell me once, "this isn't our specialty—here's who does it better." That honesty earned my trust for everything else. It's a red flag when a company claims they can fix absolutely anything.
The 5-Step Appliance Maintenance Checklist
Step 1: Keep Every Manual Where You Can Actually Find It
I started this job with a filing cabinet full of paper manuals, none of which matched the appliances actually installed in our buildings. It took an embarrassing incident with a Frigidaire ice maker to fix that.
When the ice maker in our third-floor break room stopped producing ice, I had no idea which model we had, let alone how to troubleshoot it. I spent two hours on hold with a support line before realizing I needed the frigidaire ice maker manual. The fix turned out to be a simple reset that the manual explained in three sentences.
Now I keep a digital folder for every appliance with the model number, serial number, and a PDF of the manual. That folder is the first thing I grab when something acts up.
Checkpoint: Can you pull up the manual for every appliance in your building in under two minutes? If not, that's your first task.
Step 2: Set a Calendar Reminder for Self-Cleaning Ovens
Our headquarters kitchen has a Frigidaire Gallery oven with a self-clean cycle. Here's the thing: self-clean doesn't mean zero maintenance. You can't just hit the button and walk away.
Here's how I run the frigidaire gallery oven self clean cycle:
- Remove the oven racks first. They can discolor or warp at self-clean temperatures—most manuals recommend taking them out.
- Wipe out loose food debris by hand. Leave big chunks in and the cycle will produce enough smoke to set off the fire alarm. I learned this one the hard way.
- Run the cycle on the shortest setting that actually gets the job done. Usually 2-3 hours for our unit.
- Wipe down the interior with a damp cloth once it cools.
The self-clean function does work well, but it's not a replacement for wiping up spills as they happen. I pair a self-clean cycle every 4-6 months with regular spot cleaning in between. That keeps the oven in good shape without baking on residue.
Checkpoint: When did you last run the self-clean cycle? If it's been more than six months, put it on the calendar for this week.
Step 3: Schedule Professional Front Load Washer Cleaning
We have front-load washers in our corporate housing unit. They're great for water efficiency, but they need more attention than top-loaders.
When I compared our maintenance costs for the front-load units against the top-loaders we used to have, side by side over a full year, I finally understood why the front-loaders demanded so much more care. The door gasket stays damp, detergent residue builds up in the drum, and if you skip cleaning, you get that musty smell that nobody wants in a guest bedroom.
Here's what I do monthly: wipe the door gasket, leave the door ajar between loads, and run a cleaning cycle with a compatible washer cleaner. But that's not enough on its own. I schedule a professional front load washer cleaning at least twice a year. The technician does a full drum inspection, cleans the drain pump filter, and checks the hoses for wear. That last item is worth the service call alone—a cracked hose in the wrong spot can flood a whole floor.
Checkpoint: Check the maintenance schedule in your washer's manual and mark the next professional cleaning date. If you don't know when it was last done, it's overdue.
Step 4: Stock the Parts That Hang You Up
Nothing kills break room morale like a crashed coffee maker. Ours is a Curtis unit, and when it started dripping through the brew basket instead of into the carafe, my first instinct was to replace the whole machine.
Then I looked at the curtis coffee maker parts diagram and found the actual problem: a cracked seal around the brew basket. The part cost about $14 including shipping. A new commercial coffee maker would have run us $300-500. The repair took ten minutes with a flathead screwdriver and a pair of pliers.
That experience changed how I handle small appliance failures. I now ask one question first: is there a parts diagram available? If the fix involves a seal, gasket, or filter, I order the part and wait the 2-3 days. The upside is obvious: I save hundreds of dollars and keep a machine that the staff already knows how to use. The risk is that the part doesn't solve the root problem and I've spent a week going back and forth. I kept asking myself whether $14 was worth potentially chasing the issue for another week. The expected value said repair it, and I'm glad I did. But if a replacement part costs more than 50% of a new unit's price, I don't hesitate—I buy the new unit.
Checkpoint: For your high-use small appliances, do you have the parts diagram bookmarked and a supplier saved in your contacts?
Step 5: Track the Replacement Cycles Everyone Forgets
This is the step that most facility managers overlook. Big appliances get attention when they break. Small consumables get ignored until they become a problem.
Take electric toothbrushes. If you manage corporate housing or hotel-style accommodations, you'll eventually face the question of how often to change electric toothbrush heads. The ADA recommends every 3 months, and most manufacturers follow that same guidance. Nobody tracks it in a guest unit—not the guests, not the cleaning staff. So someone has to.
The same principle applies to a bunch of other things we tend to forget:
- Refrigerator water filters: every 6 months, or per the manufacturer spec. Look for the NSF/ANSI 42 or 53 certification to know what the filter actually removes.
- Dehumidifier filters: clean every couple of months or when the indicator lights up.
- Commercial ice maker cleaning cycles: often every 3 months, but check the manual for your specific model.
- Toothbrush heads in guest units: every 3 months.
I put all of these on a shared calendar with a two-week notice. That way I'm ordering replacement parts in normal time instead of paying rush shipping.
Checkpoint: Does your preventive maintenance calendar include consumable replacements for the items nobody thinks about?
Common Mistakes That Bit Me (So You Don't Have To)
I still kick myself for skipping the rack removal the first time I ran the self-clean cycle. The racks came out looking like they'd been through a forge. They still worked, but it was a totally avoidable mistake that I'd read about in the manual and chosen to ignore.
A few other things that have bitten me over the years:
- Running self-clean cycles too often. Once every 4-6 months is plenty for normal use. Over-cleaning can wear out door seals and heat up things that don't need to be heated.
- Using the wrong cleaner on front-load washers. Check compatibility before you pour anything into the machine. The wrong chemicals can damage the gasket.
- Buying off-brand parts without checking the model number. Some generic parts fit fine. Some don't. Read the reviews and verify compatibility before ordering.
- Waiting until something breaks to find the manual. By then, you're under pressure and making decisions in a hurry. Store the manuals before you need them.
Bottom Line
Appliance maintenance is not the reason anyone gets into facilities management. But a structured checklist cuts down the fire drills dramatically. Read the manuals. Set the calendar reminders. Schedule the professional cleaning. Stock the cheap parts. And for the love of your budget, track the consumables that everyone forgets.
And when a repair is beyond your skill set, don't power through it. Call someone who knows what they're doing. Knowing when not to DIY is a professional skill in itself—and it's one that has saved our department thousands of dollars.

Greta Lindholm
Greta Lindholm is a household refrigeration analyst covering French-door, side-by-side, top- and bottom-mount refrigerators, mini fridges, beverage coolers, chest freezers, and upright freezers. She applies IEC 62552 and IEC 60335-2-24 while comparing energy consumption, usable volume, pull-down time, compartment temperature stability, freezing capacity, noise, door-seal leakage, refrigerant charge, and ambient-temperature performance. Her guides help importers, distributors, private-label teams, and appliance engineers select platforms around climate class, storage mix, efficiency labels, cabinet dimensions, service access, shipping density, and warranty exposure.